Hey there, i want to share my work at building custom tags for the Toniebox.
What i did:
Buy 5,6µH inductors + SLIX-L chips and put the parts together ![]()
For those who want to make their own tags, more like the original Tonies, here is my (short) description.
BOM:
1x Bourns RLB0608-5R6KL
1x NXP SL2S5002FTB,115
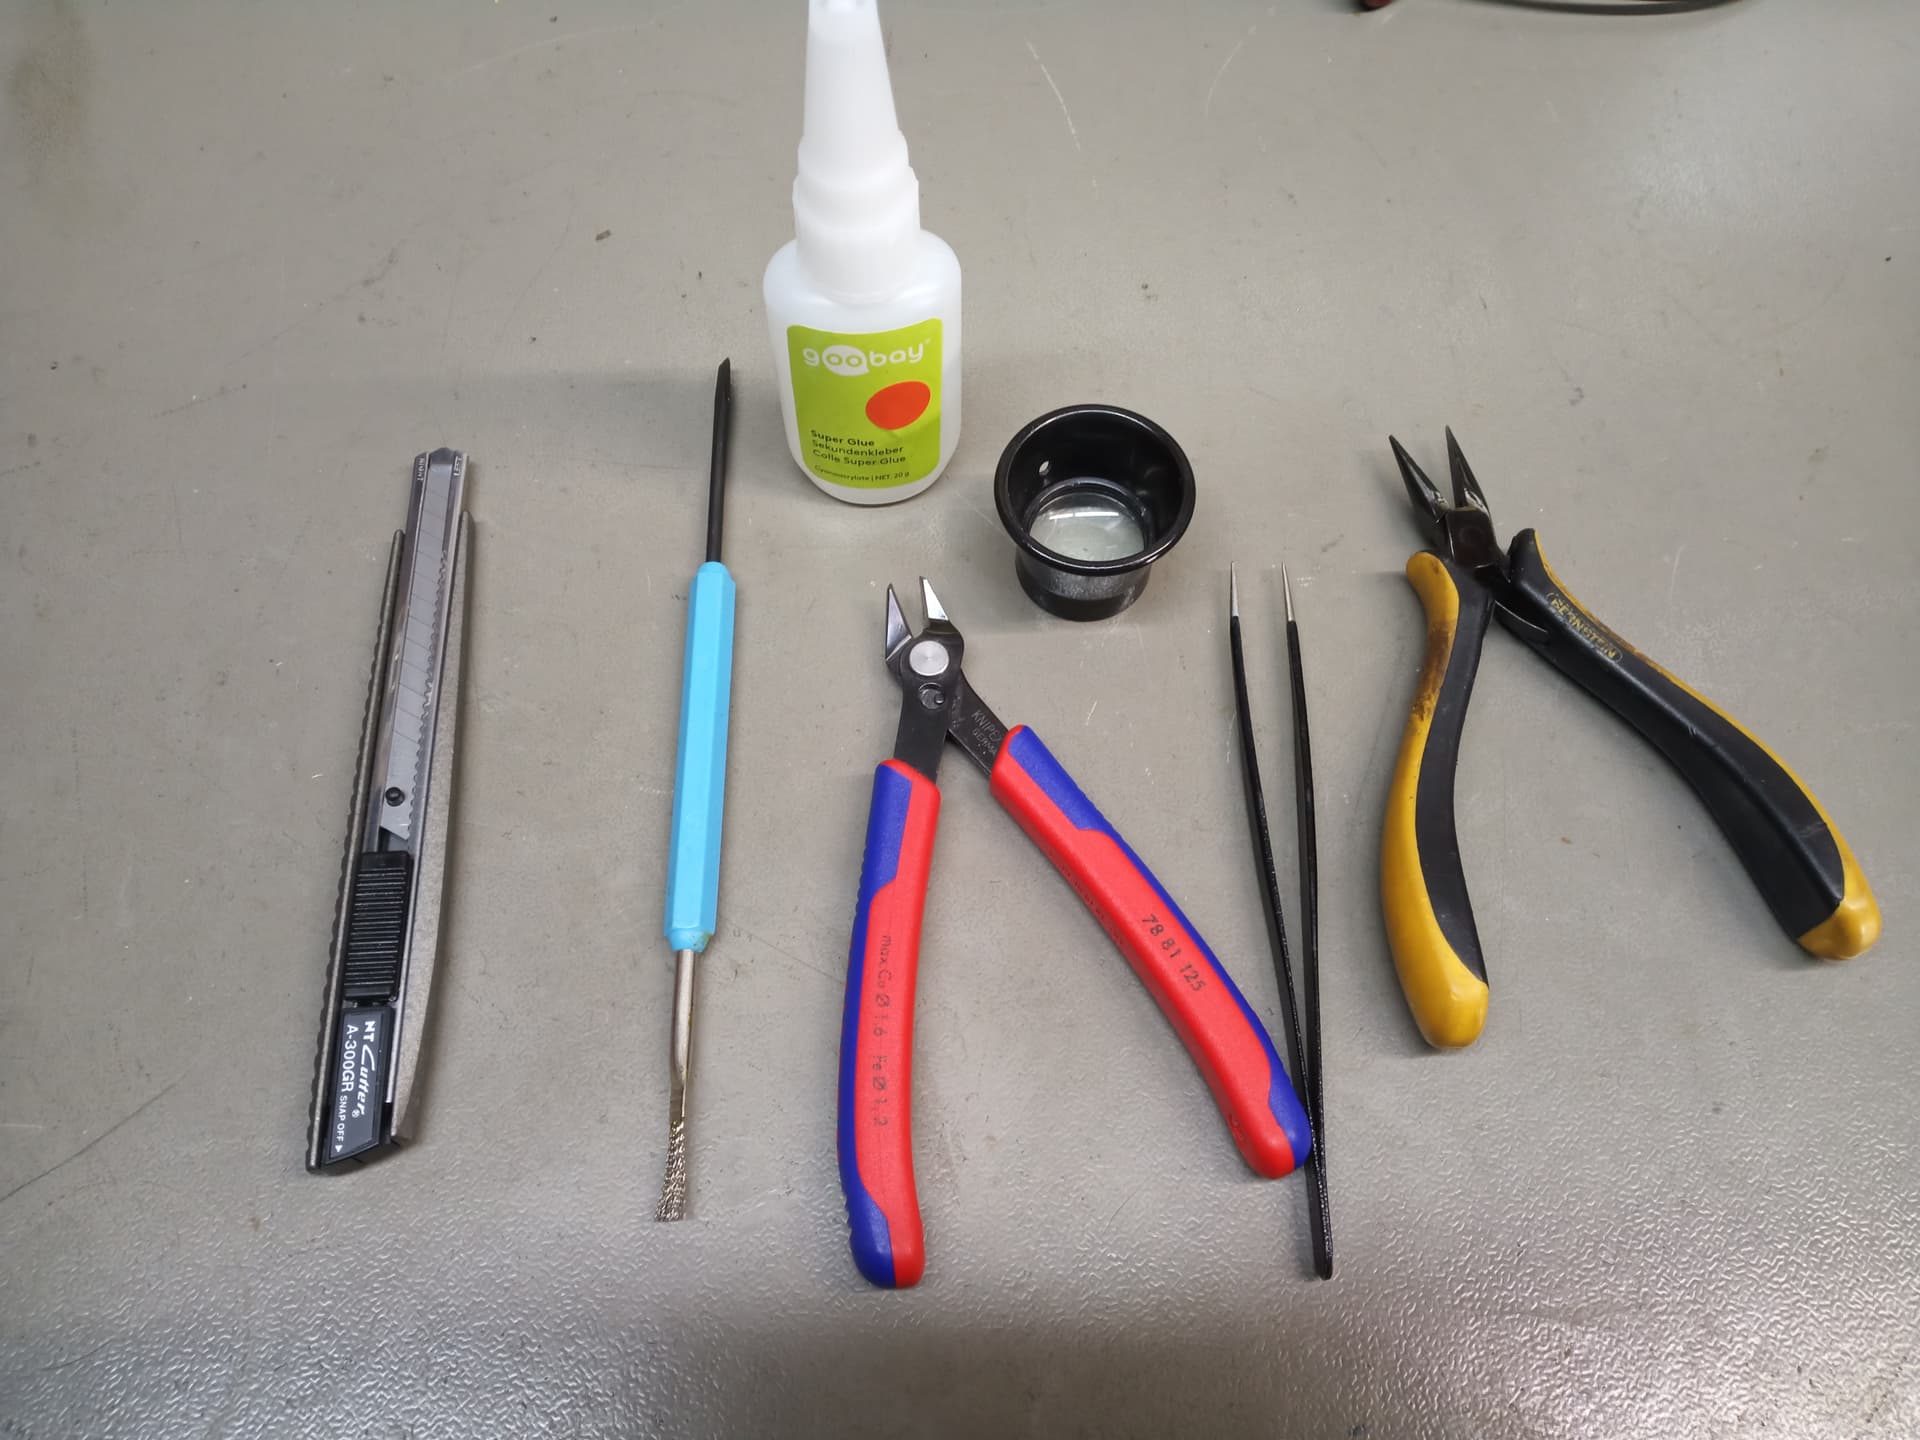
Toollist:
Sharp knife (cutter or scalpel)
Super glue
Soldering iron
Solder (i used 0,3mm) - parts are veeery small ![]()
Normal Solder tip (i used a round one with 1,2mm tip)
Small Solder tip (i used a round one with 0,8mm tip)
Small side cutter
Tweezers
Needle nose pliers
Magnifying glass (to check the soldering points)
A vise or something to hold the inductor in place
Optional: small metal brush
Step 1:
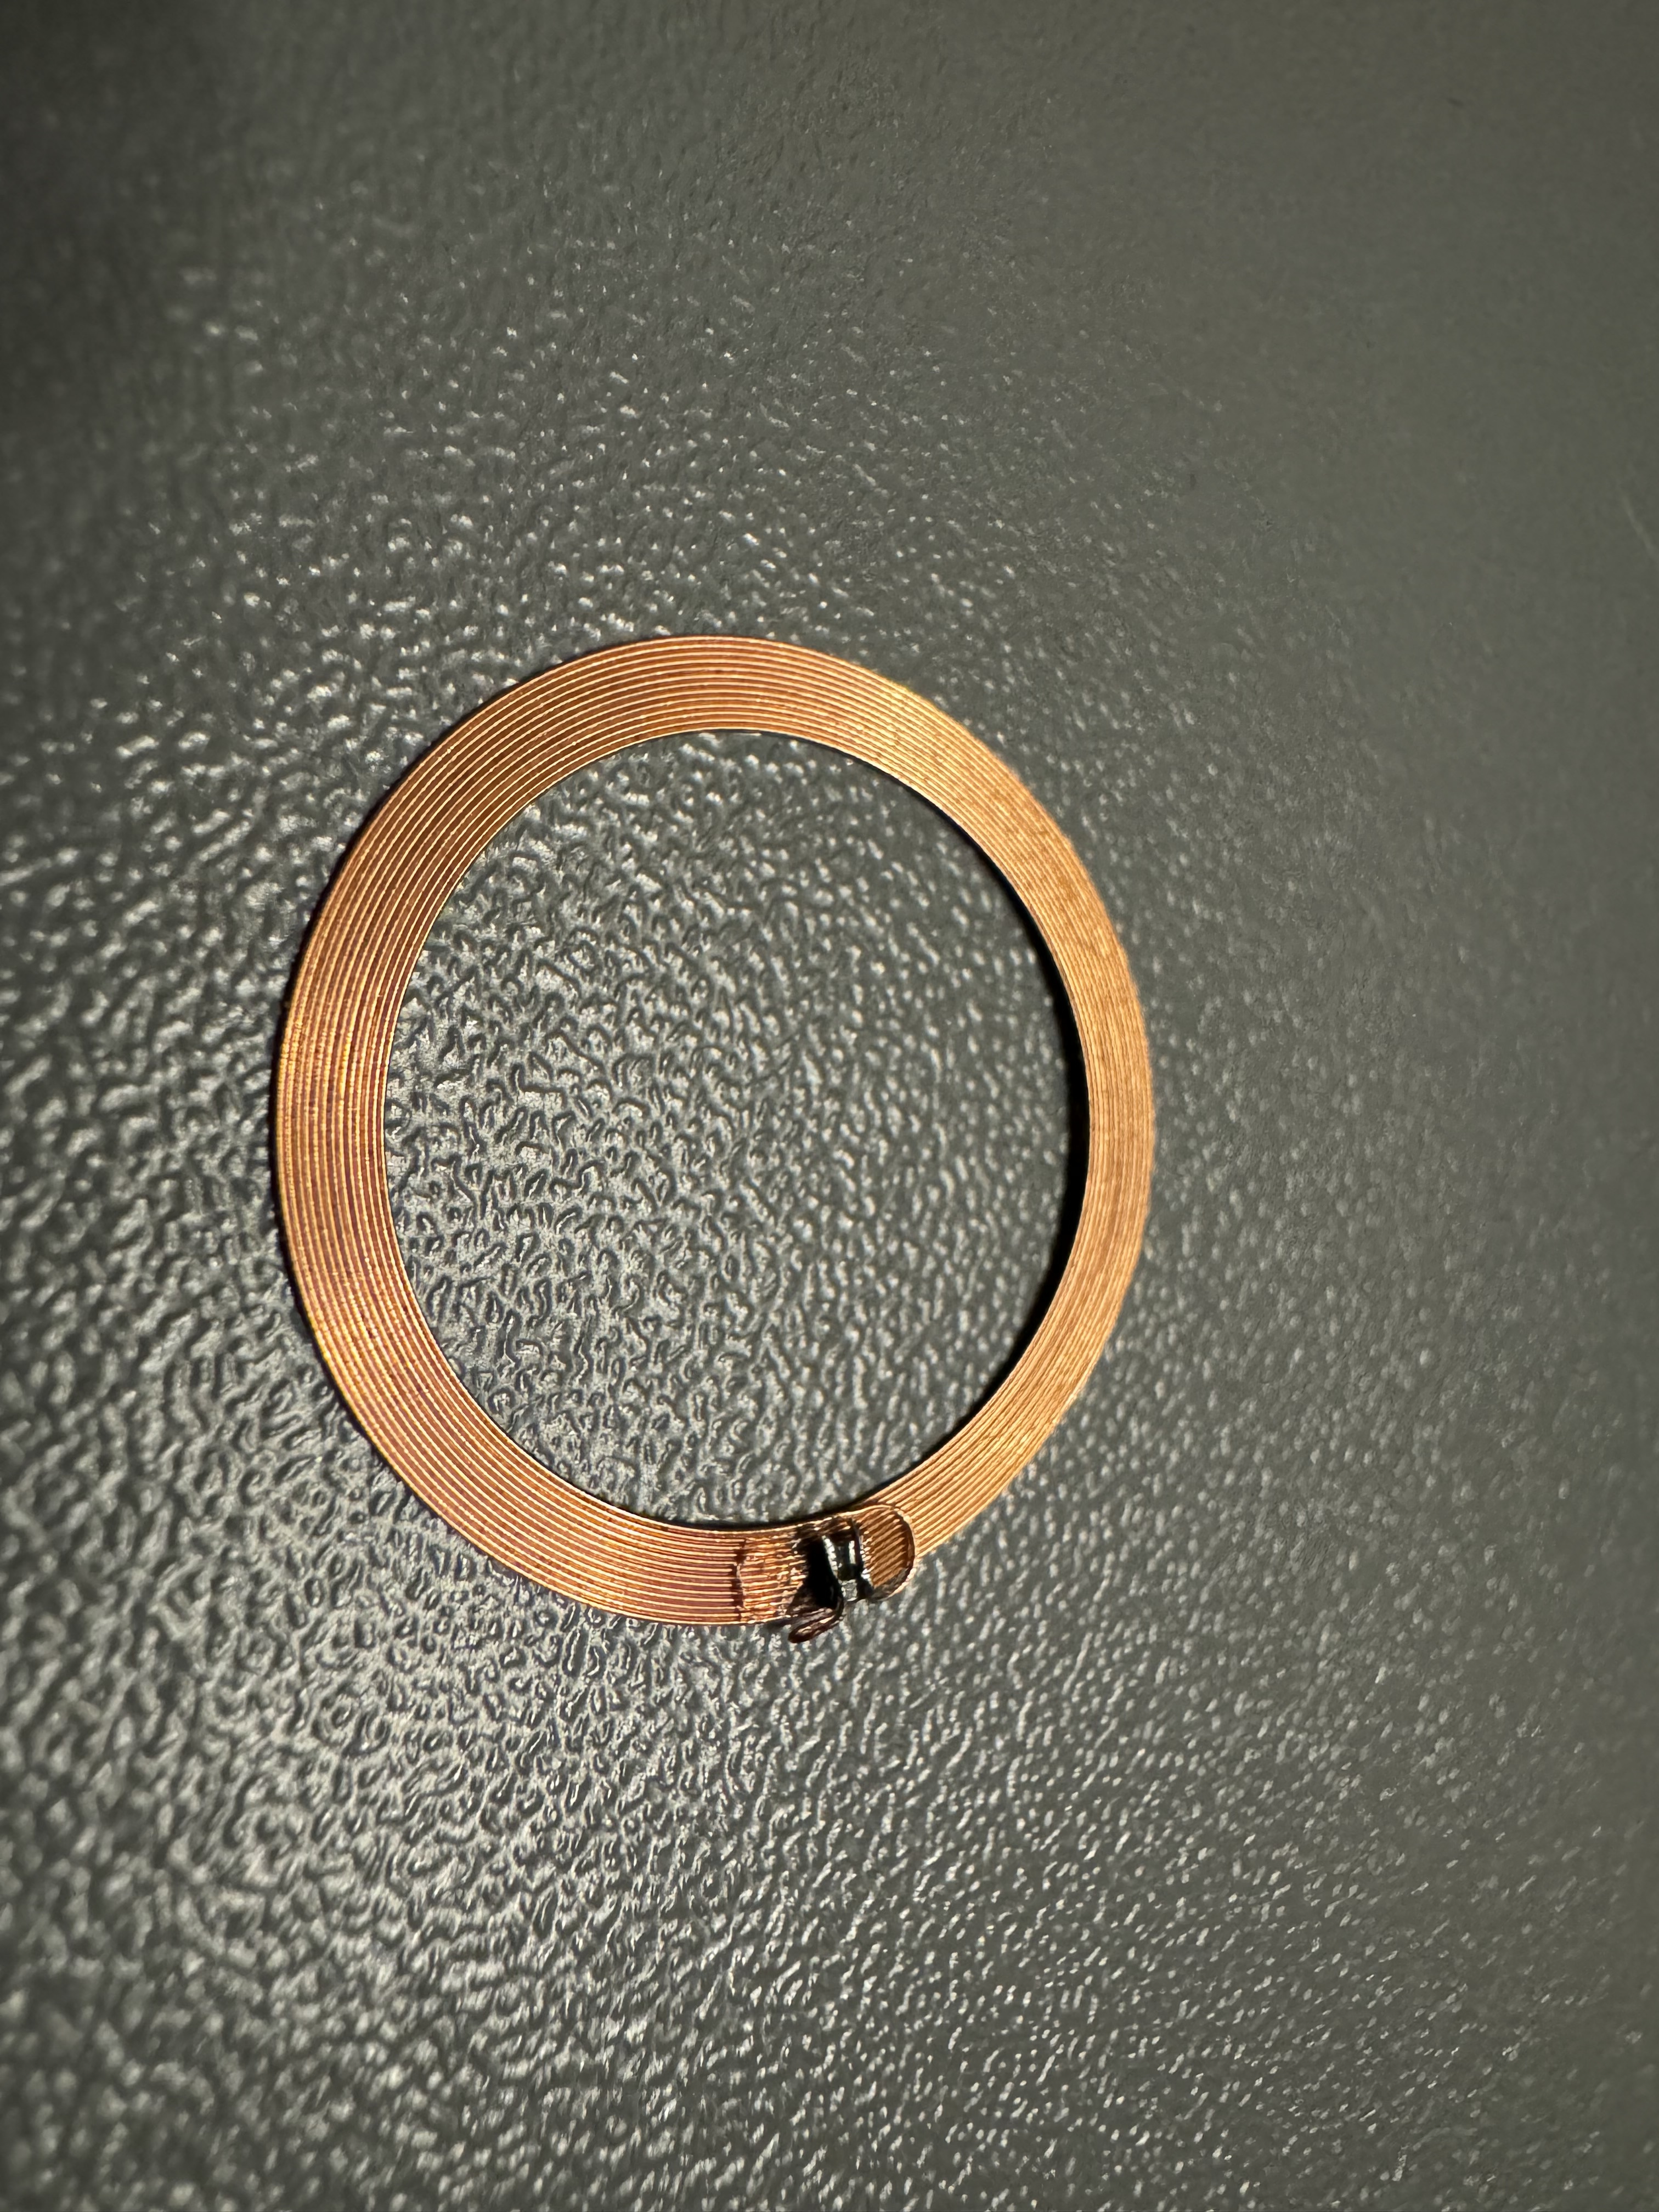
Remove the heat shrink tube from the inductor. You can heat it a little bit or just cut it and pull it down.
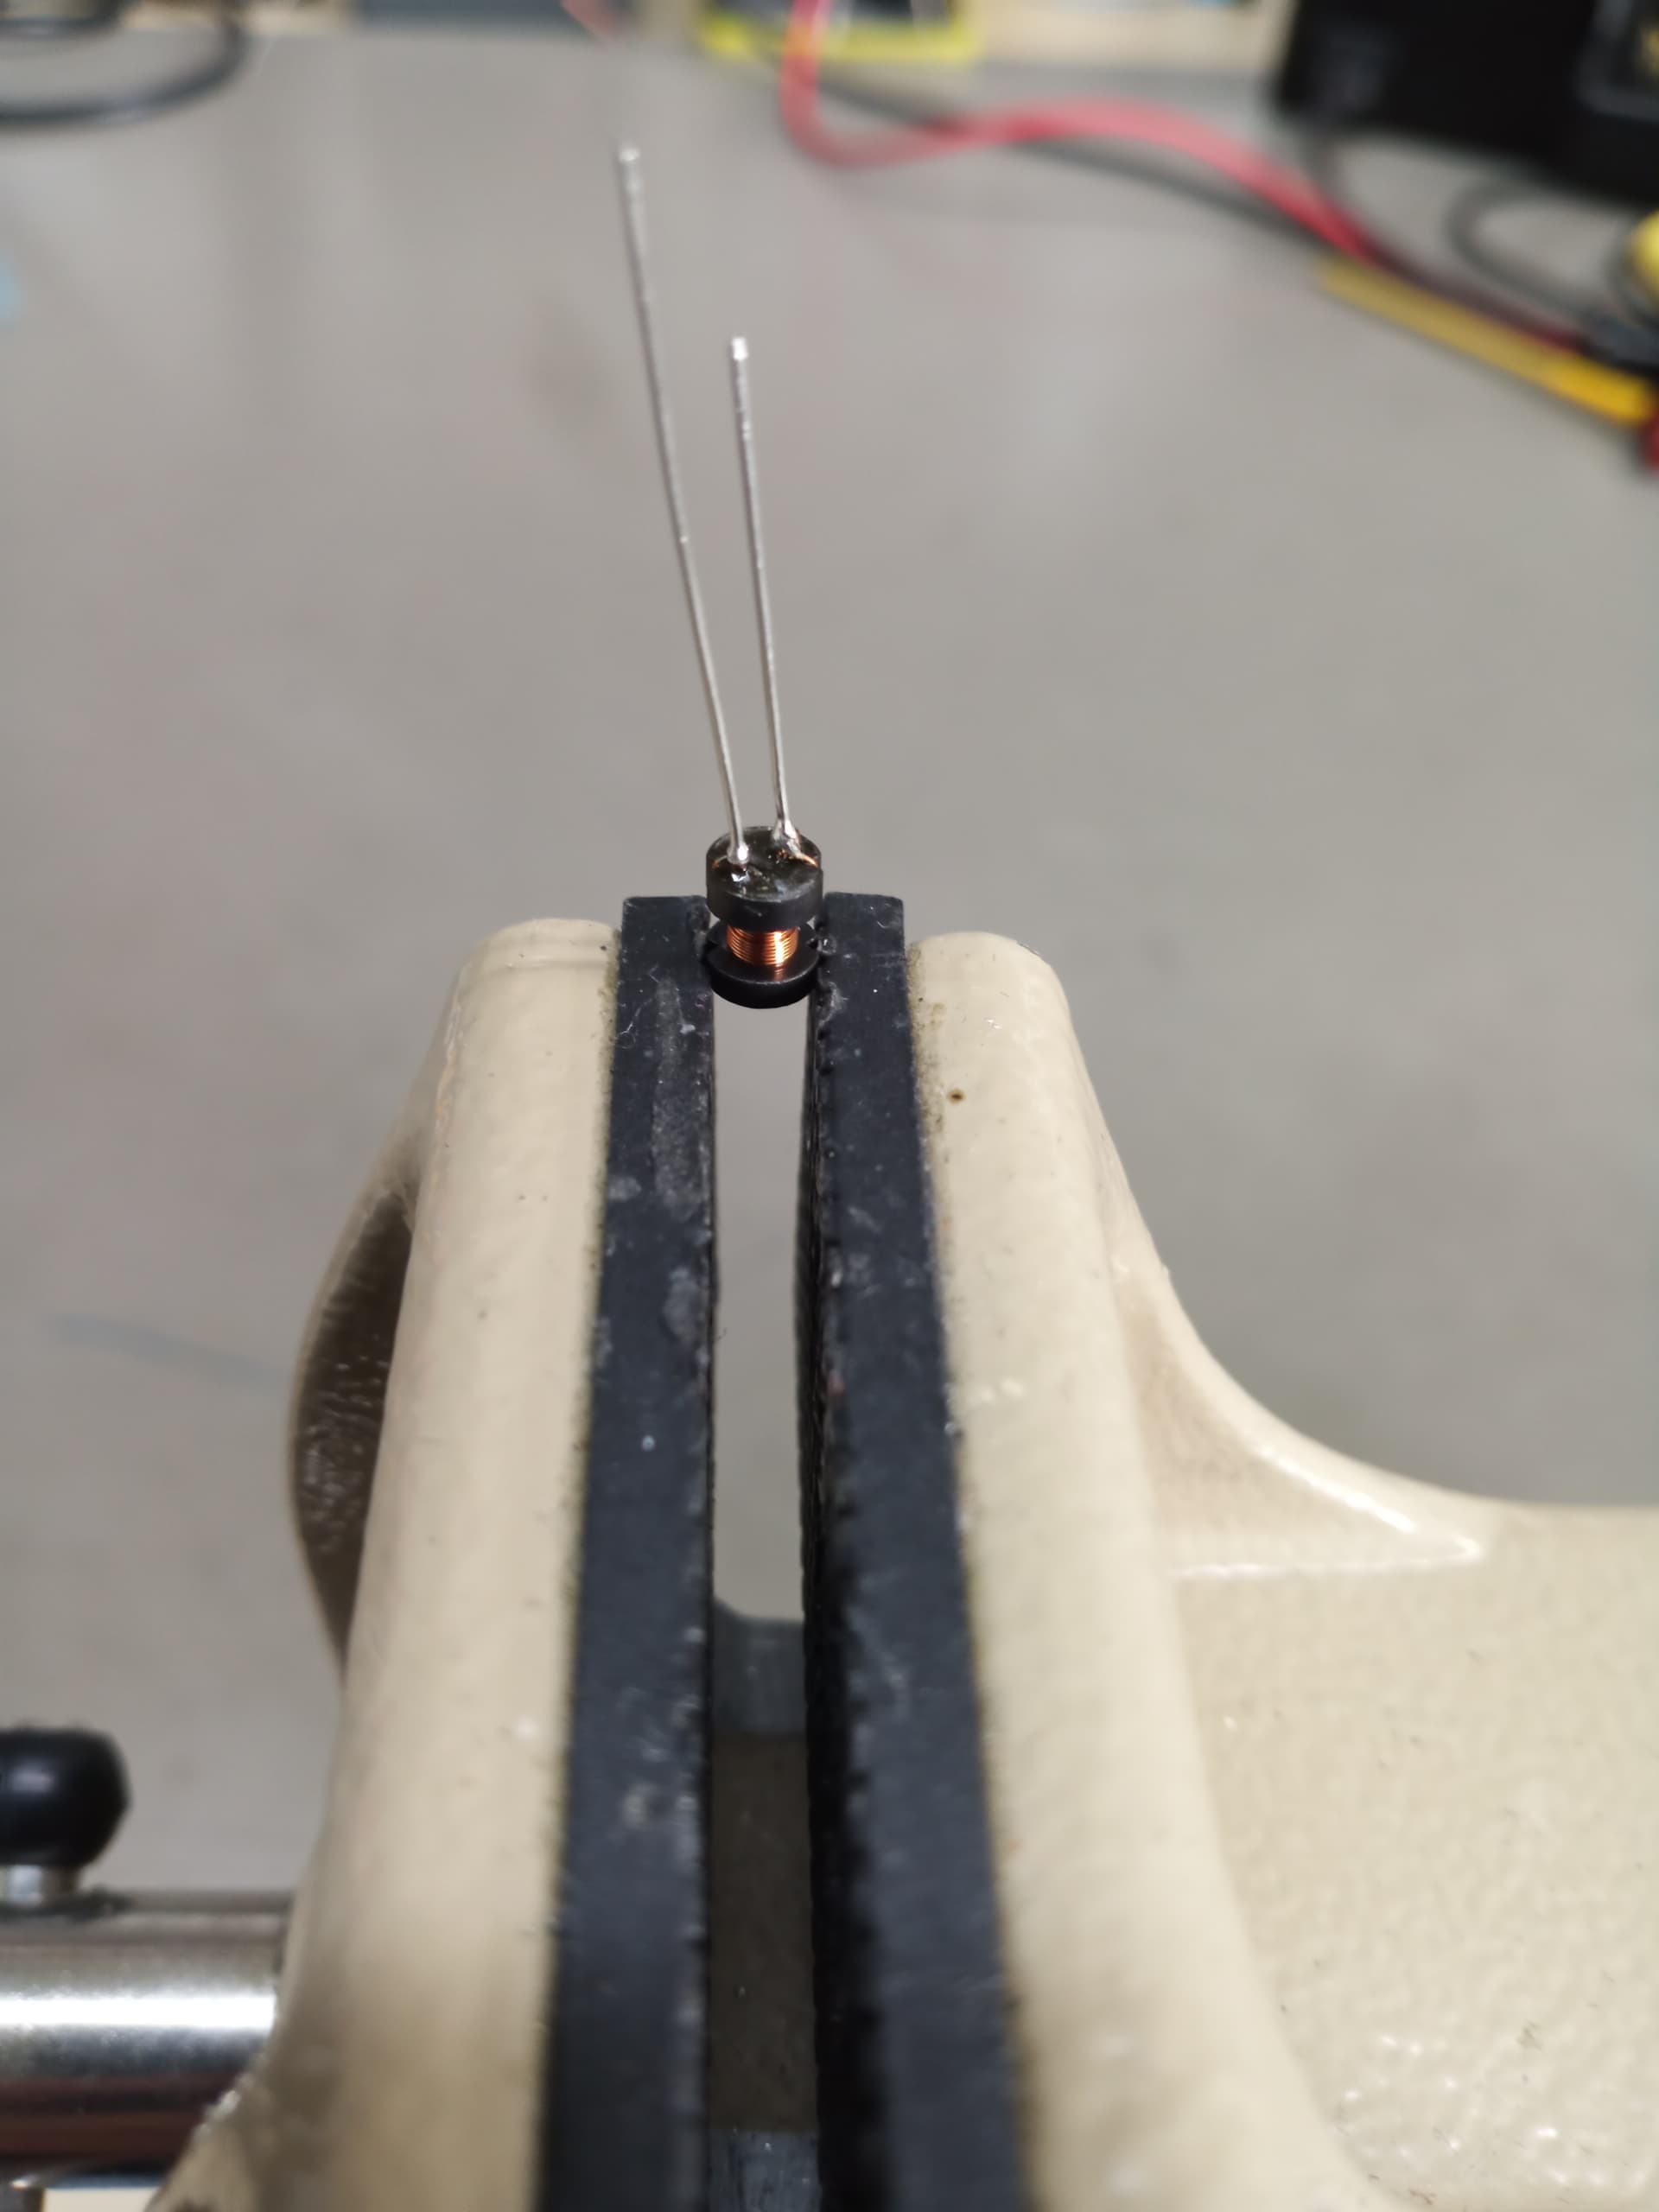
Step 2:
Take the soldering iron with the normal solder tip, heat the spot where the leg of the inductor is soldered to the wire, and pull the leg out with the needle-nose pliers. You should be able to remove the entire leg, leaving only the wire.
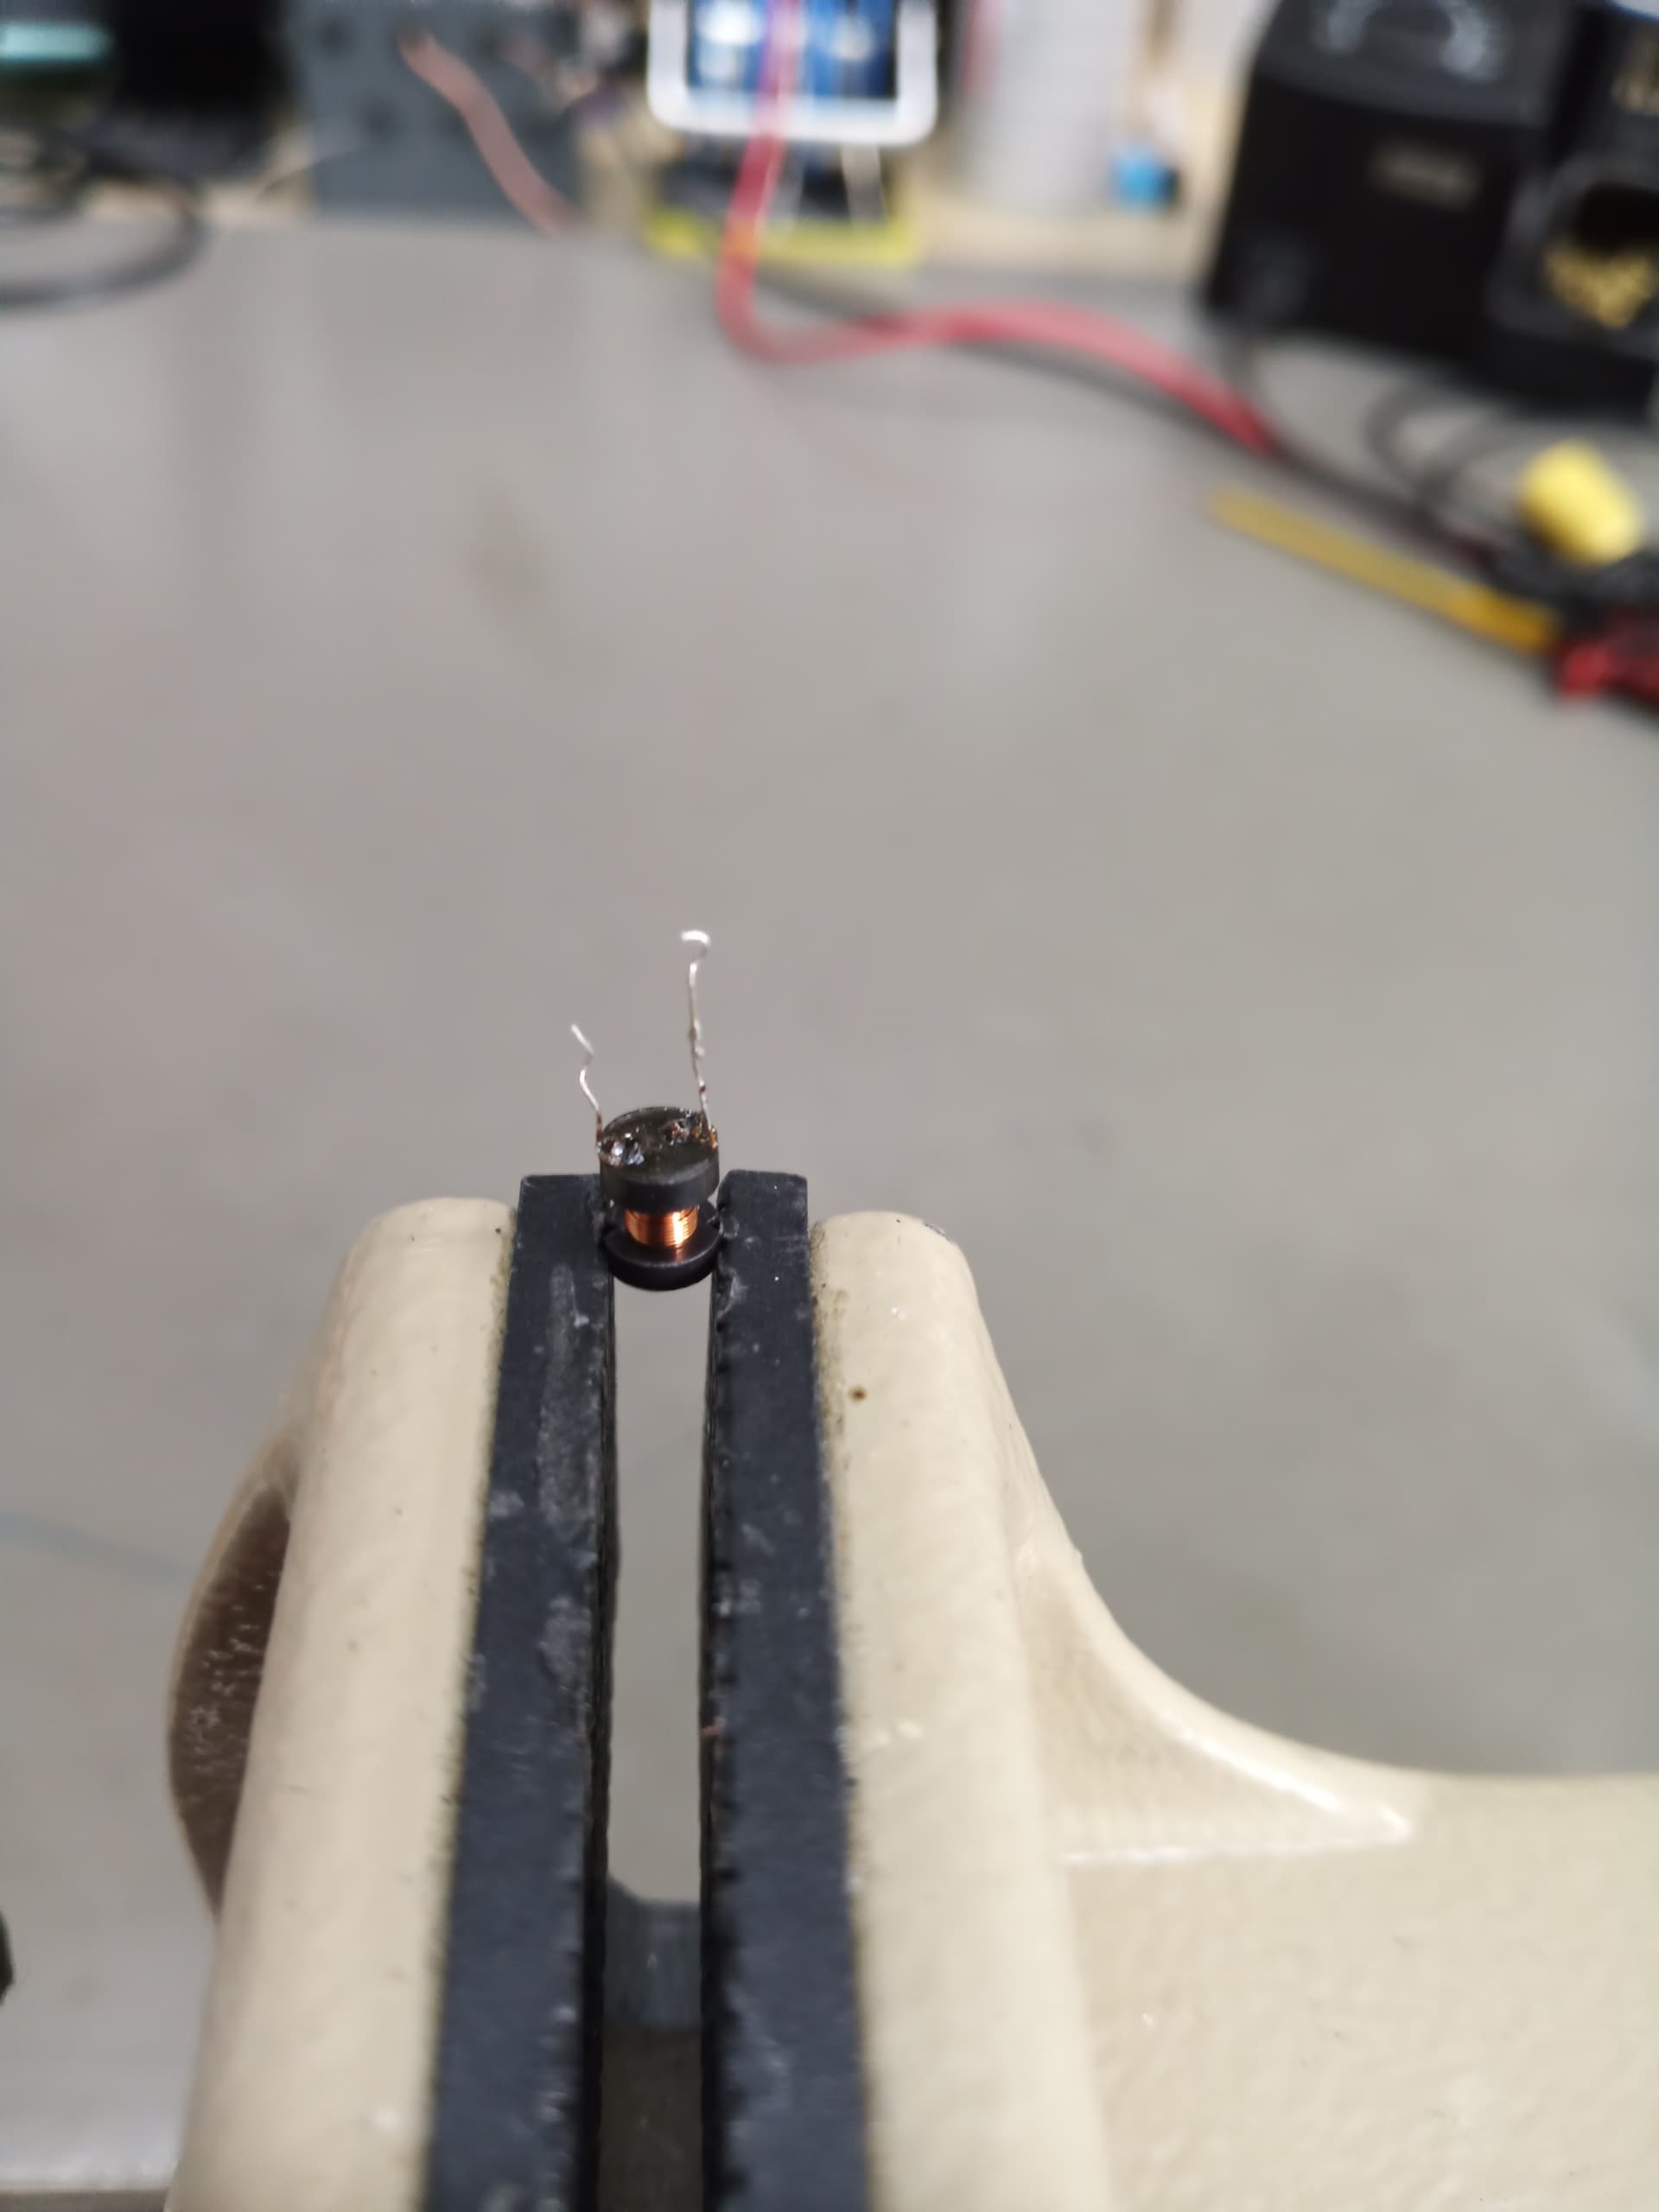
Step 3:
Clean the flat area at the bottom of the inductor. I used a knife and a metal brush. This is where you will place the SLIX-L chip. You can also straighten the wires and cut them a little with the side cutter.
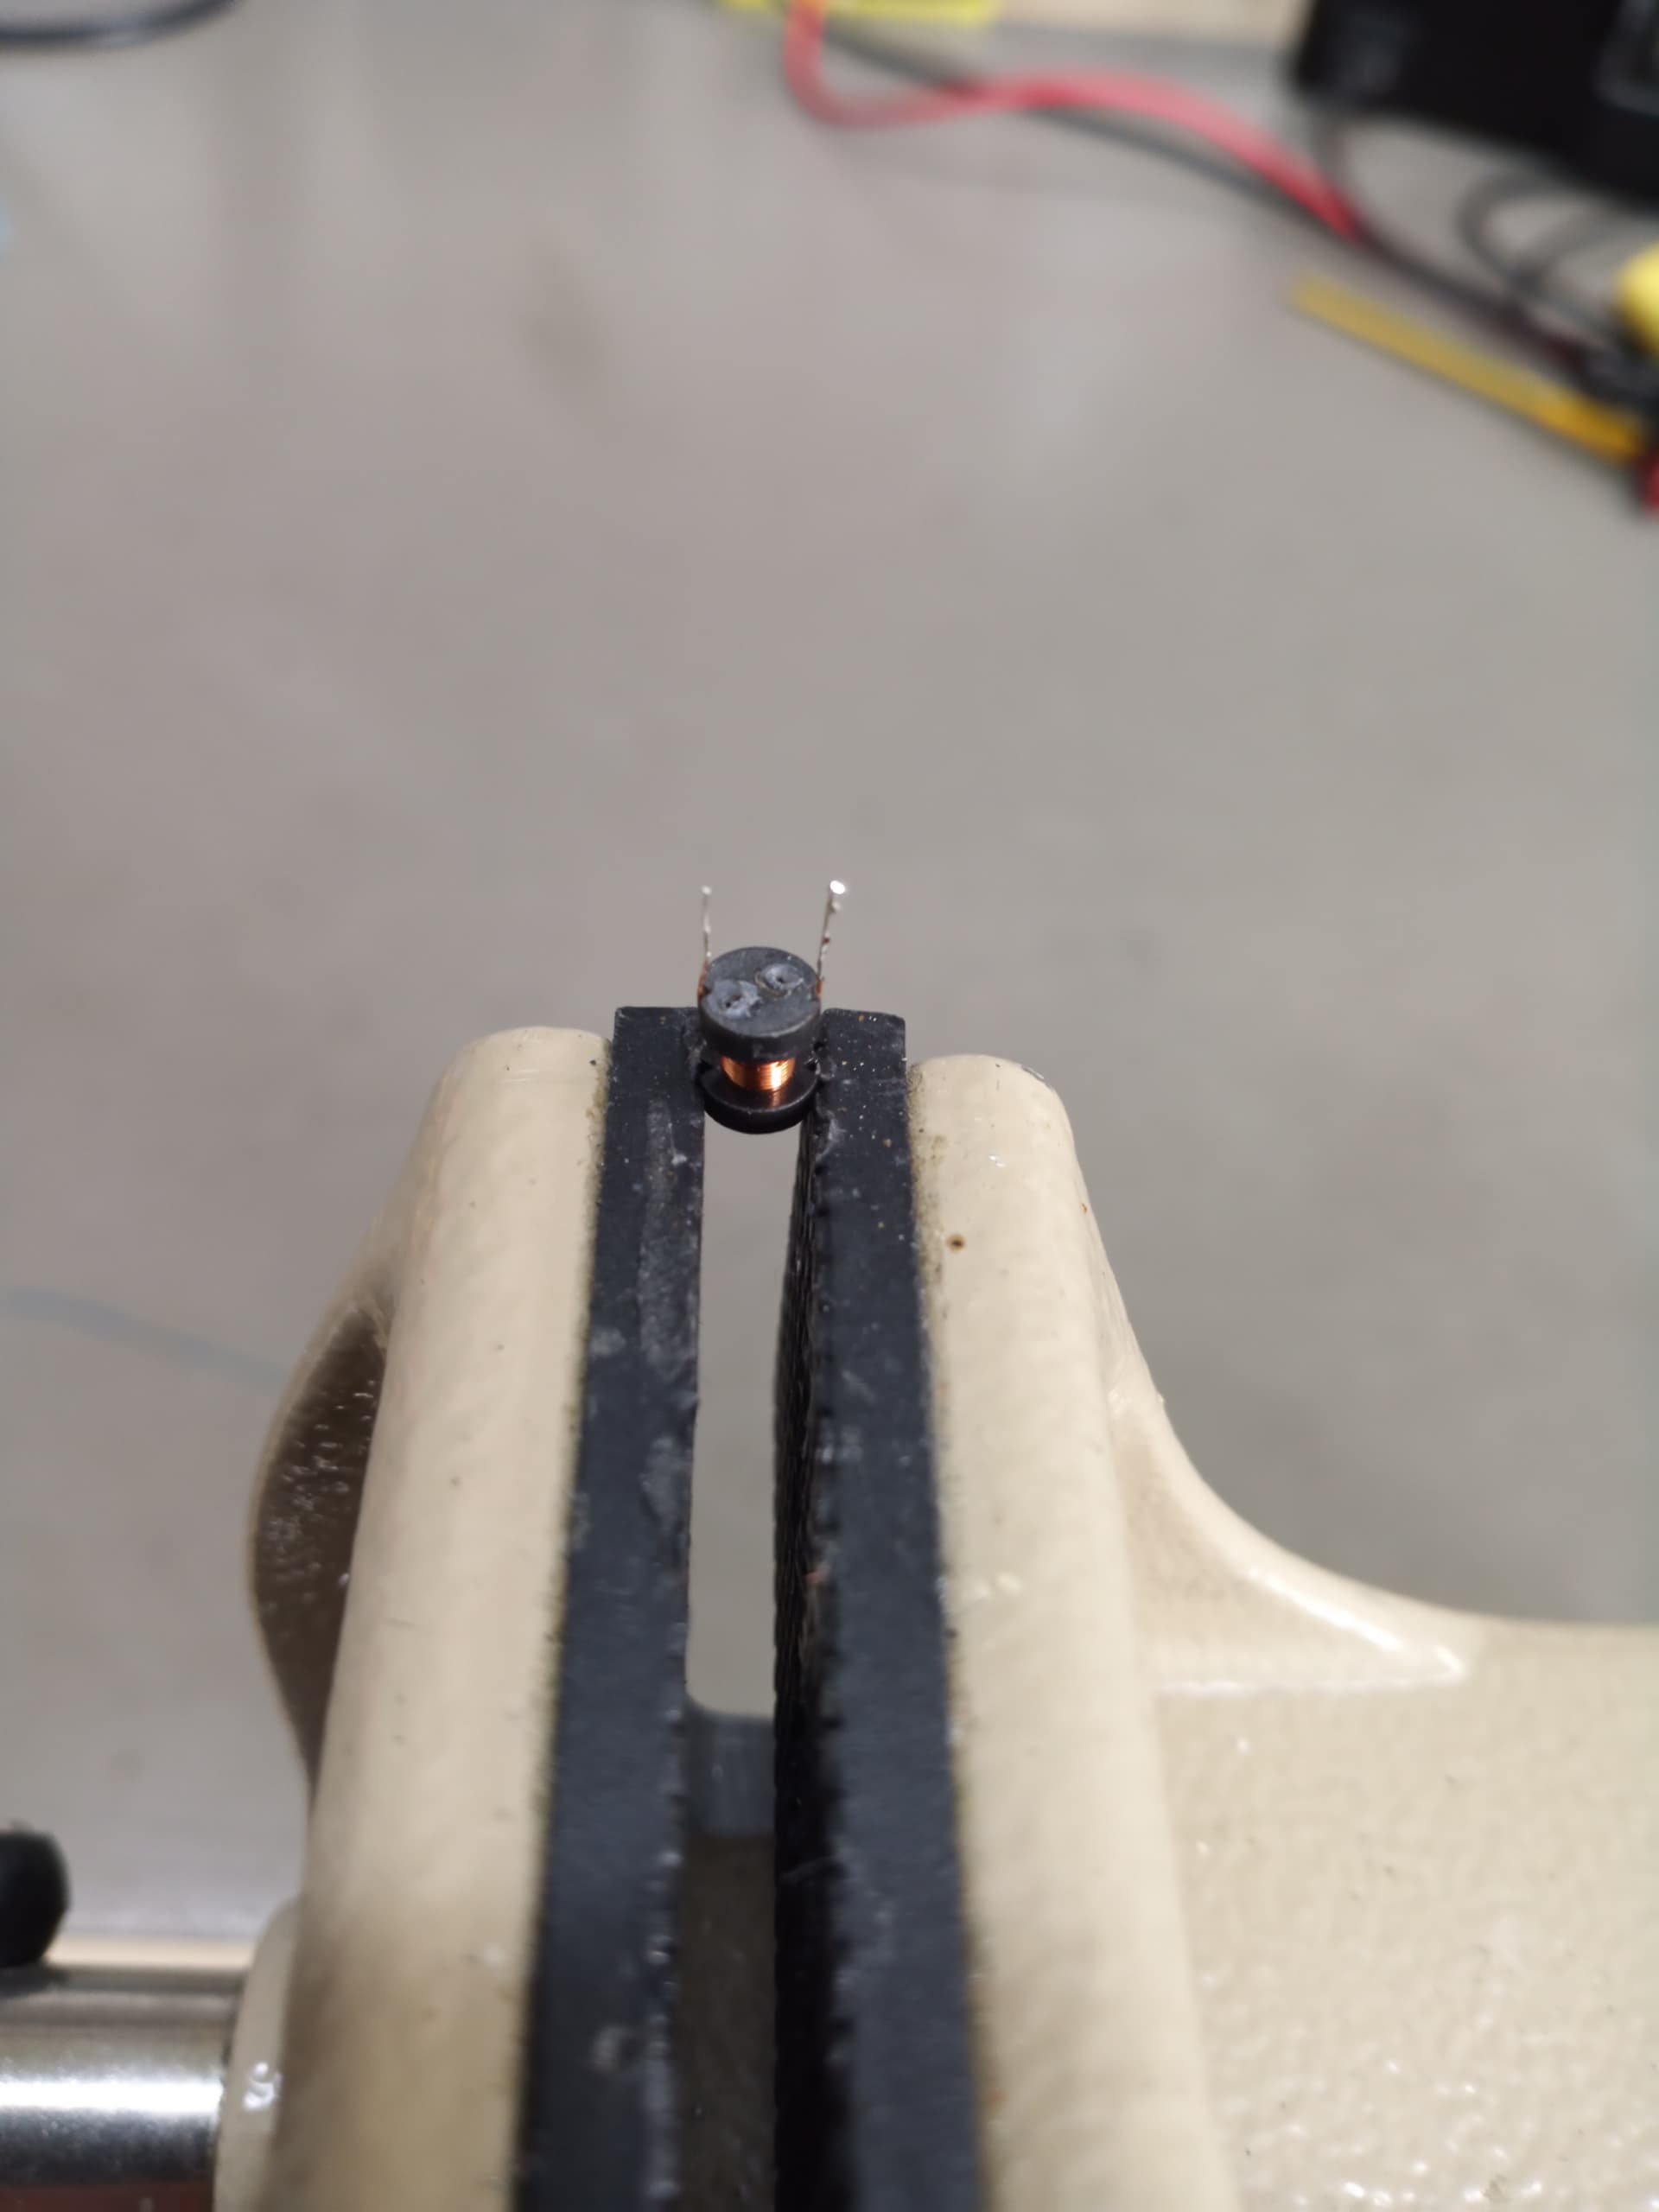
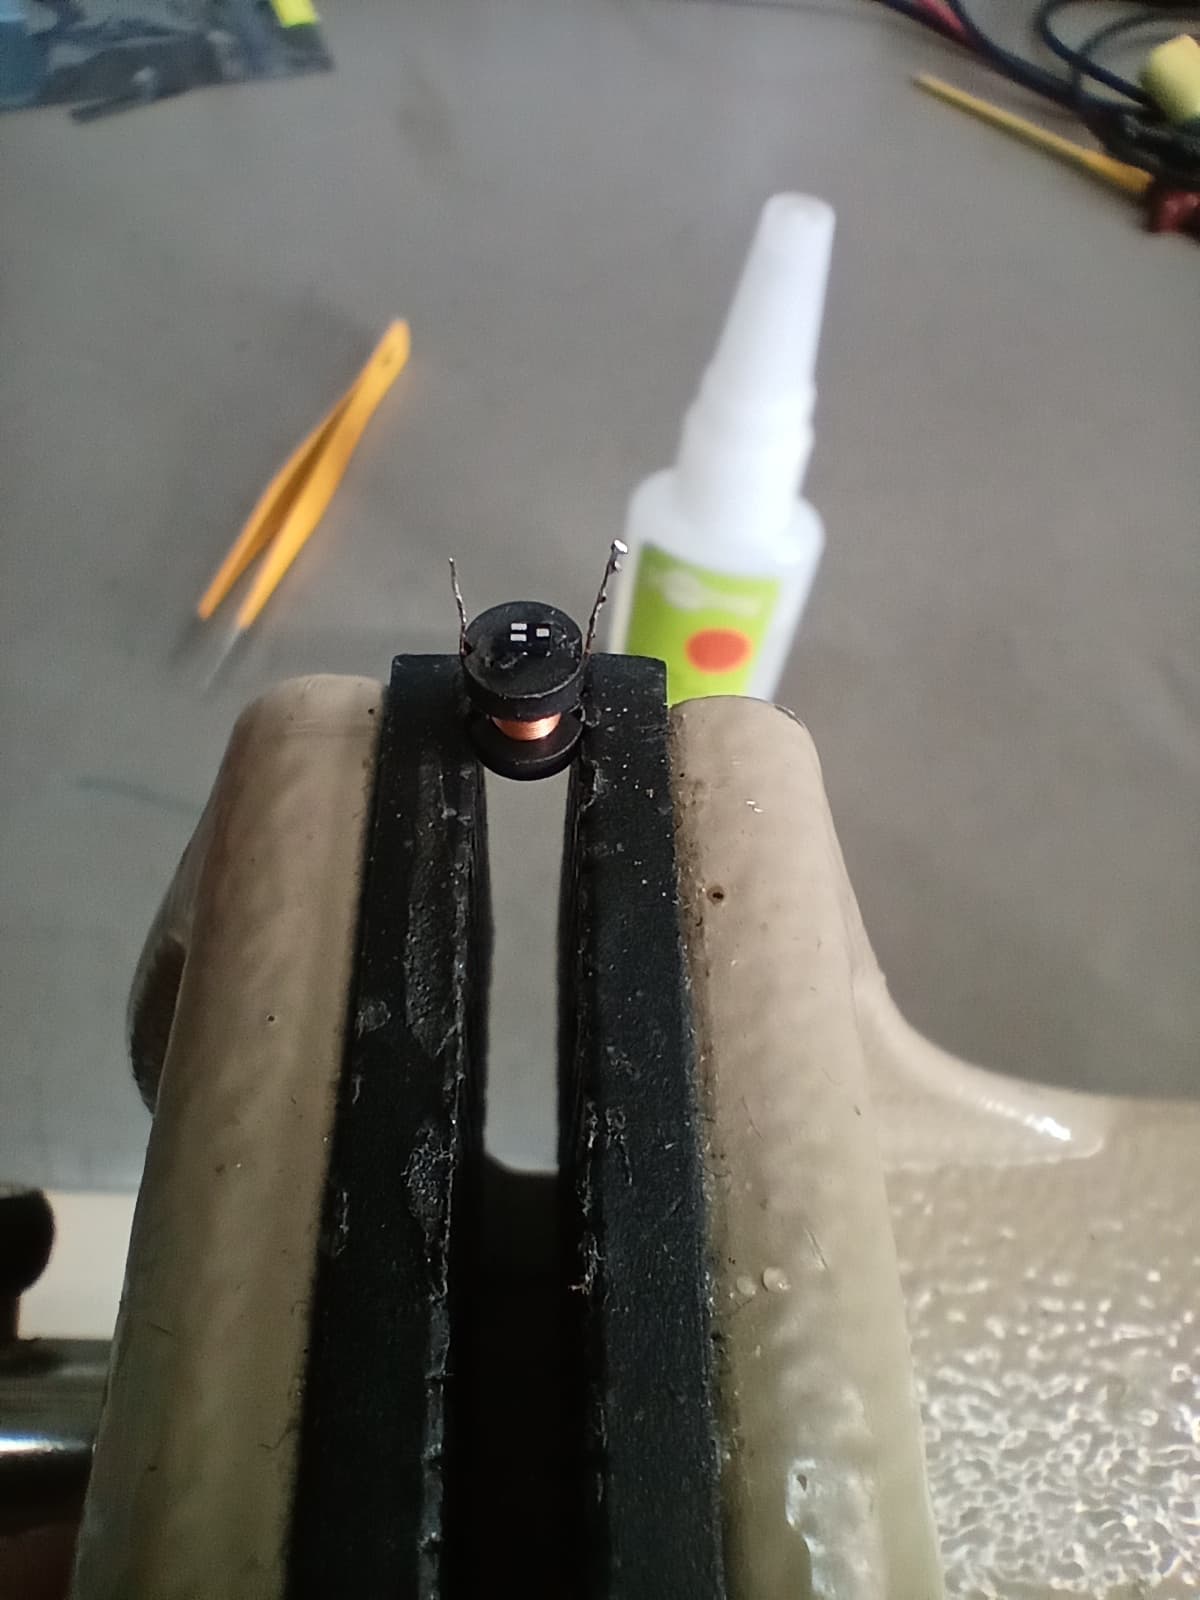
Step 4:
Apply a very small amount of superglue to the cleaned flat area. I used one of the inductors leg dipped into the super glue to add just a micro drop.
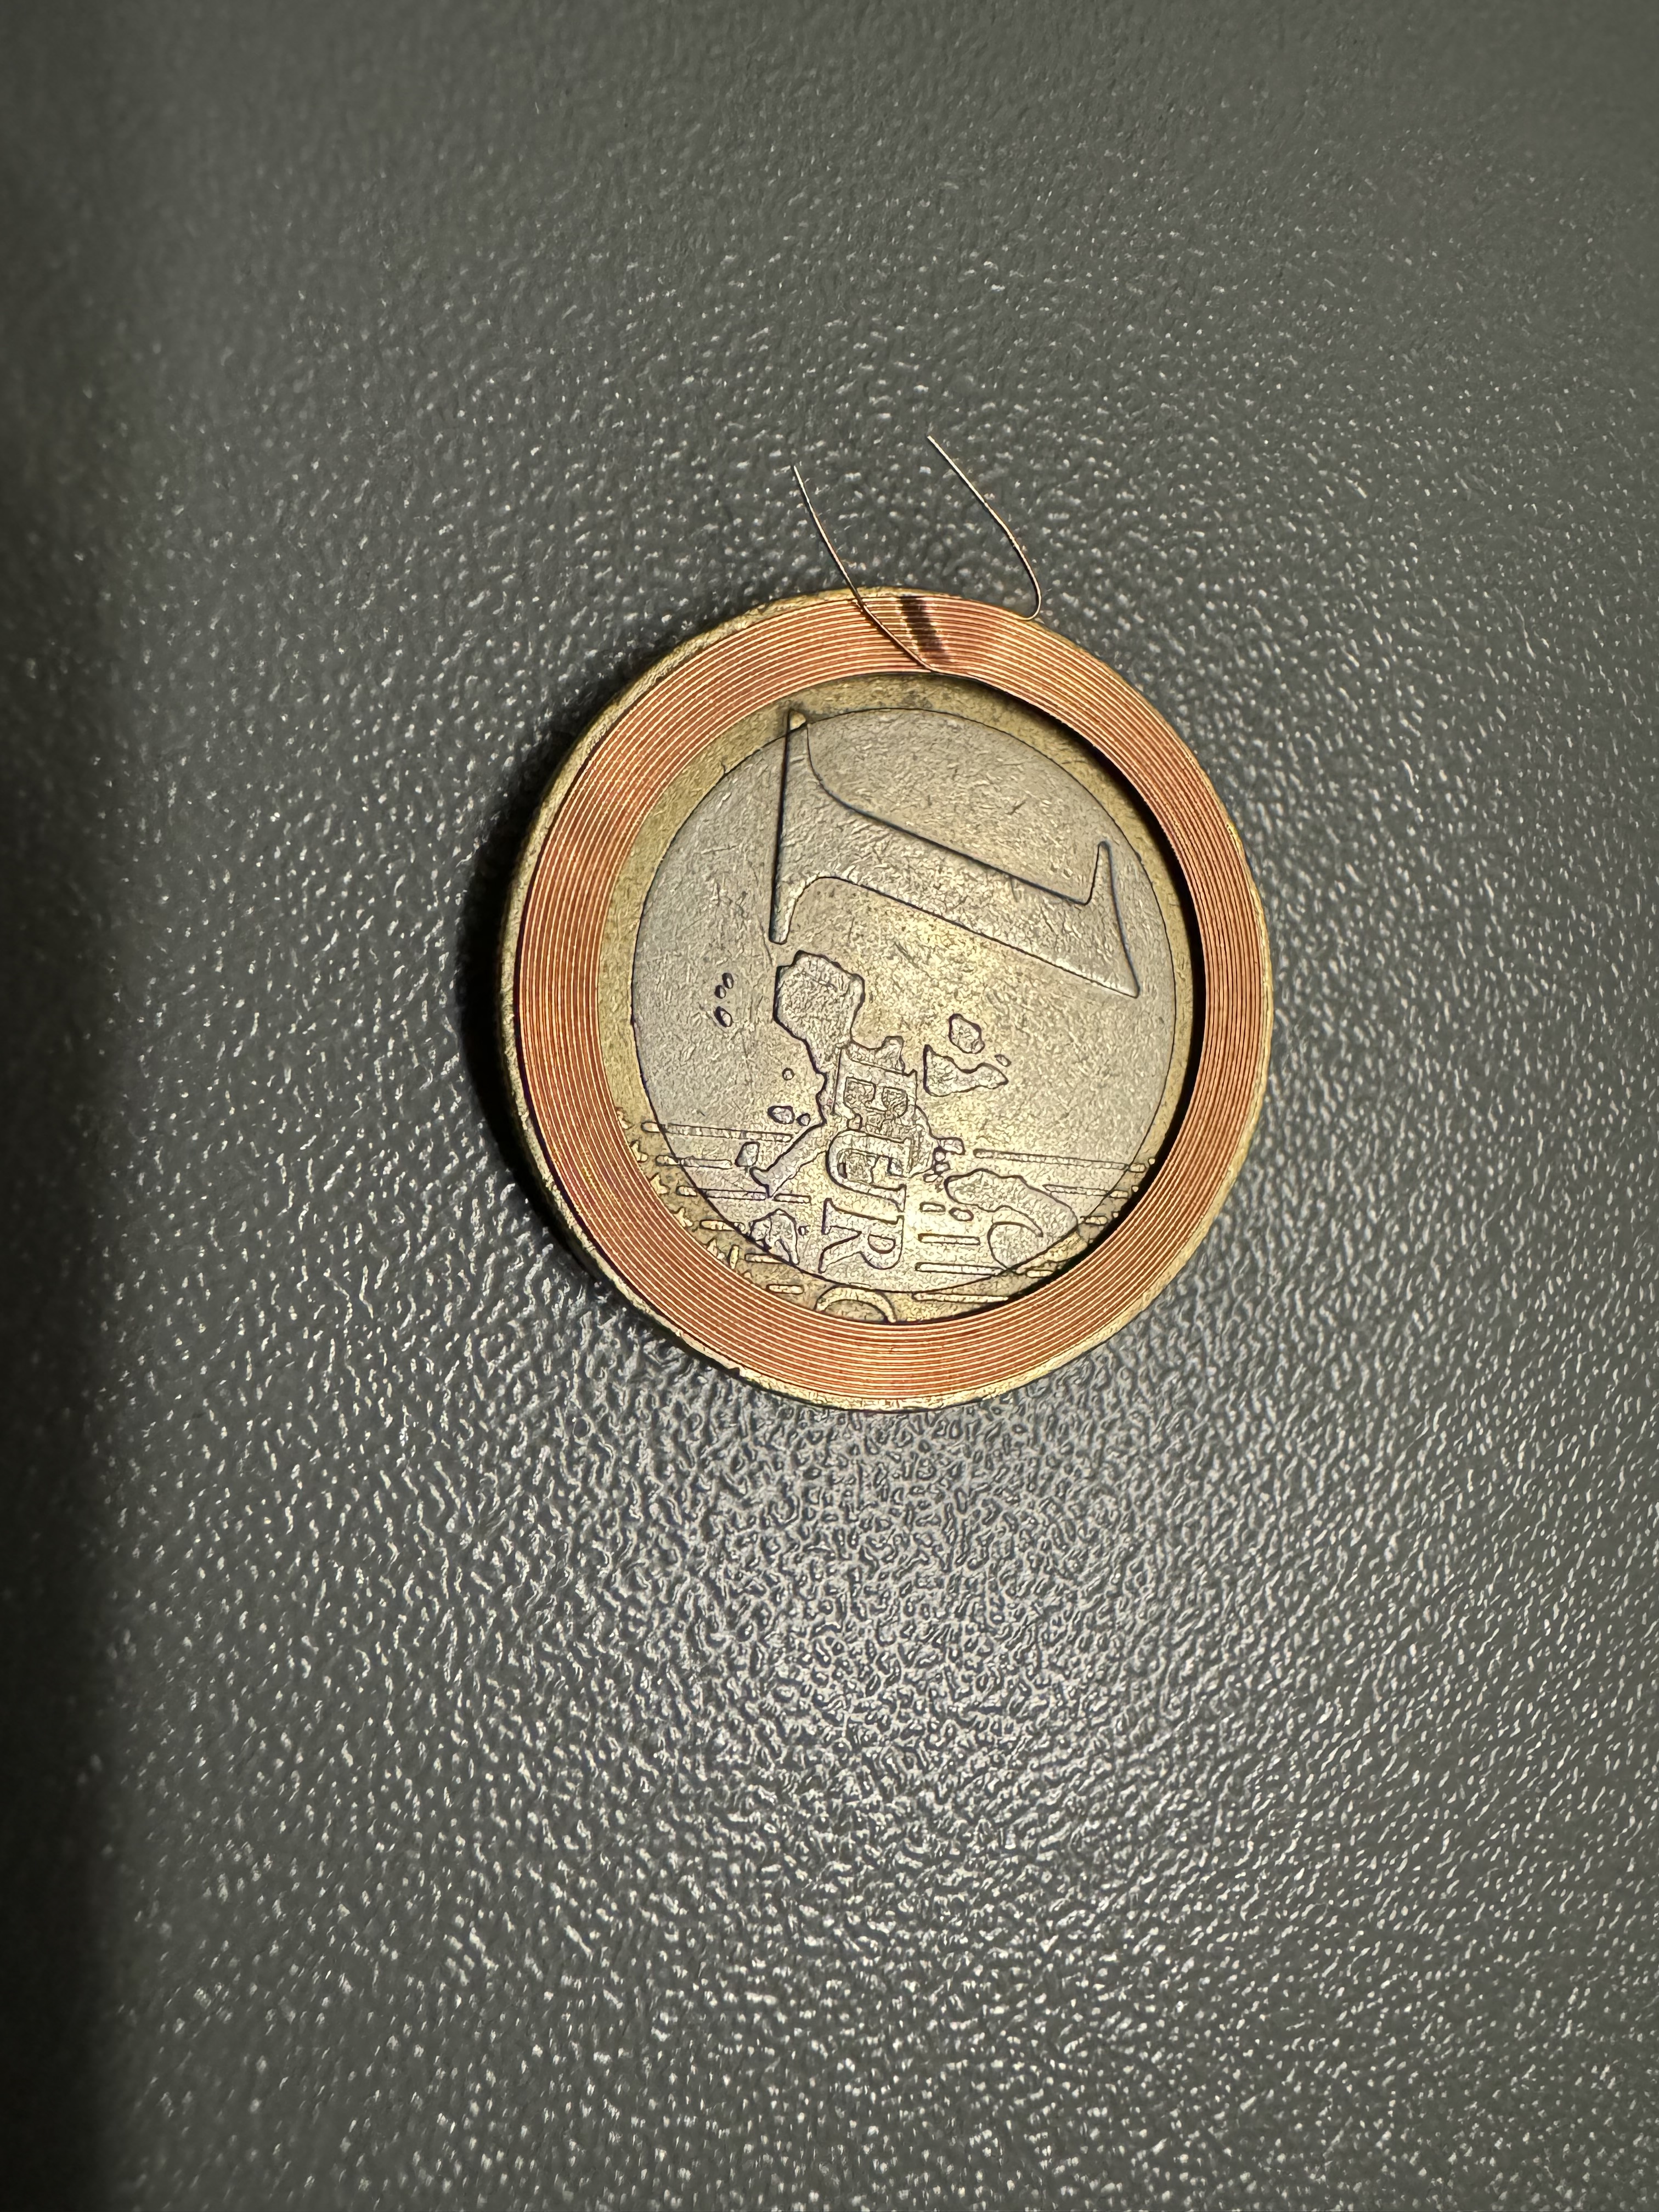
Apply the SLIX-L chip as shown in the photo and allow the glue to dry for a moment.
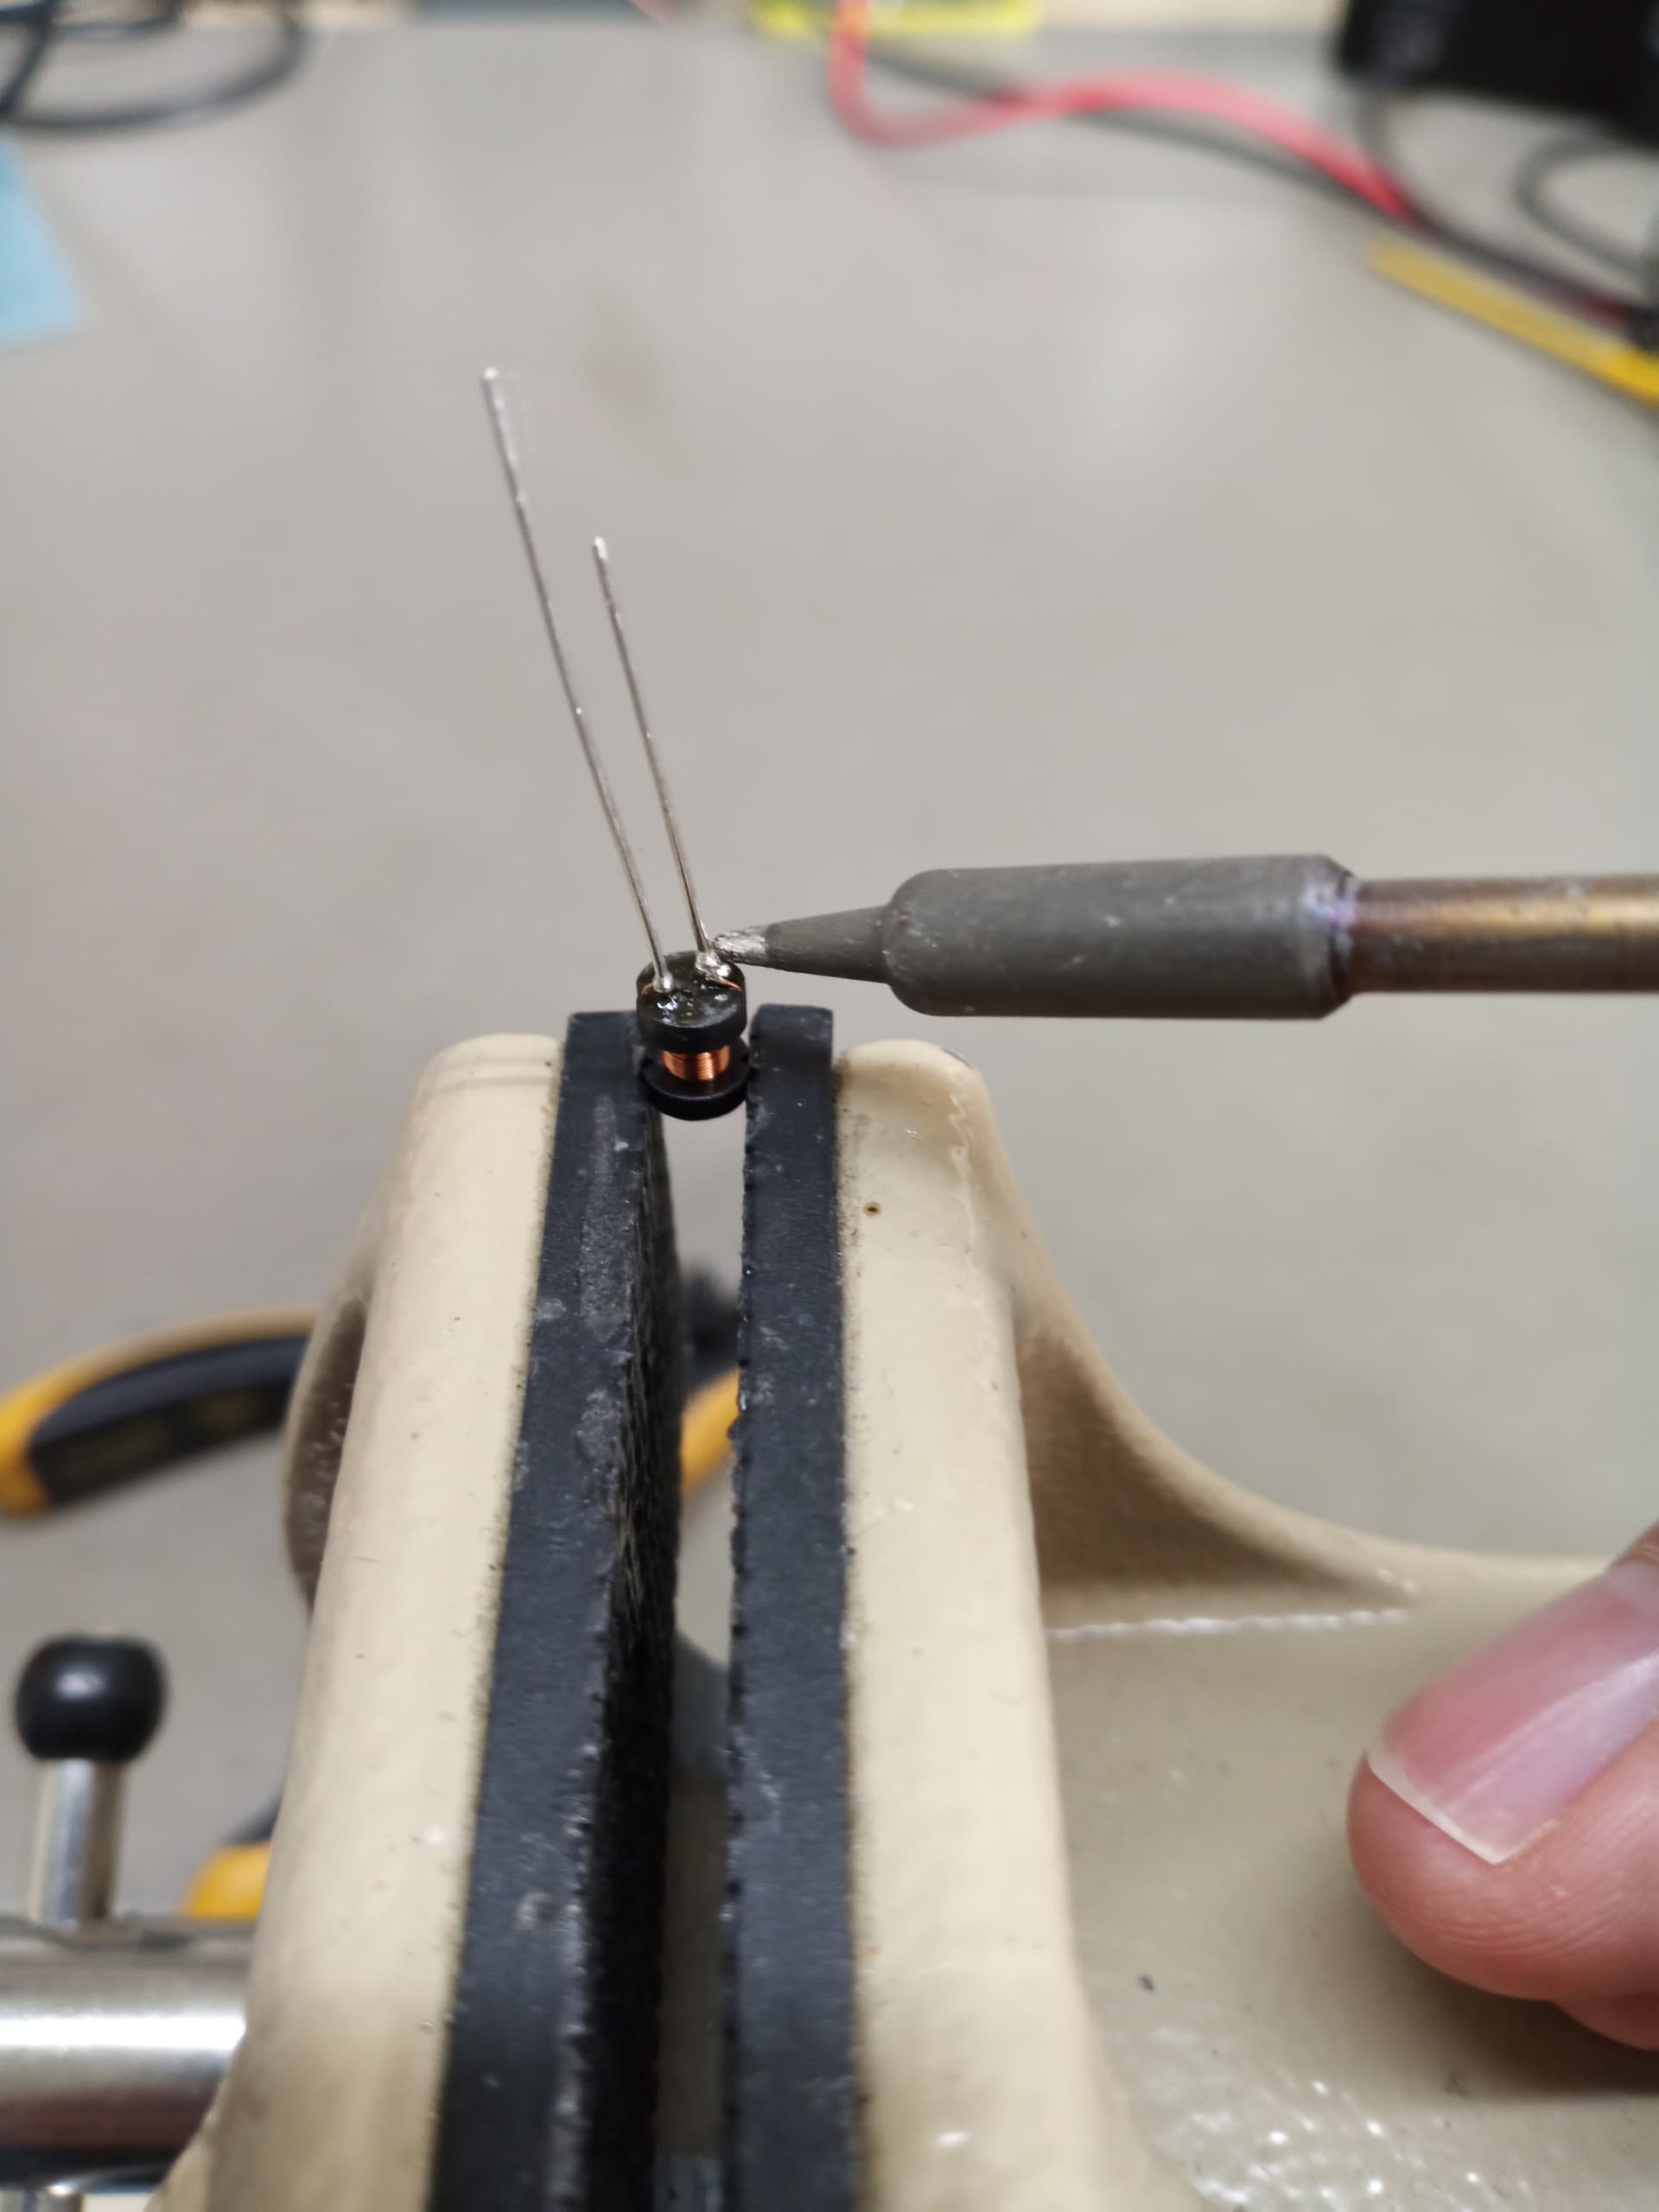
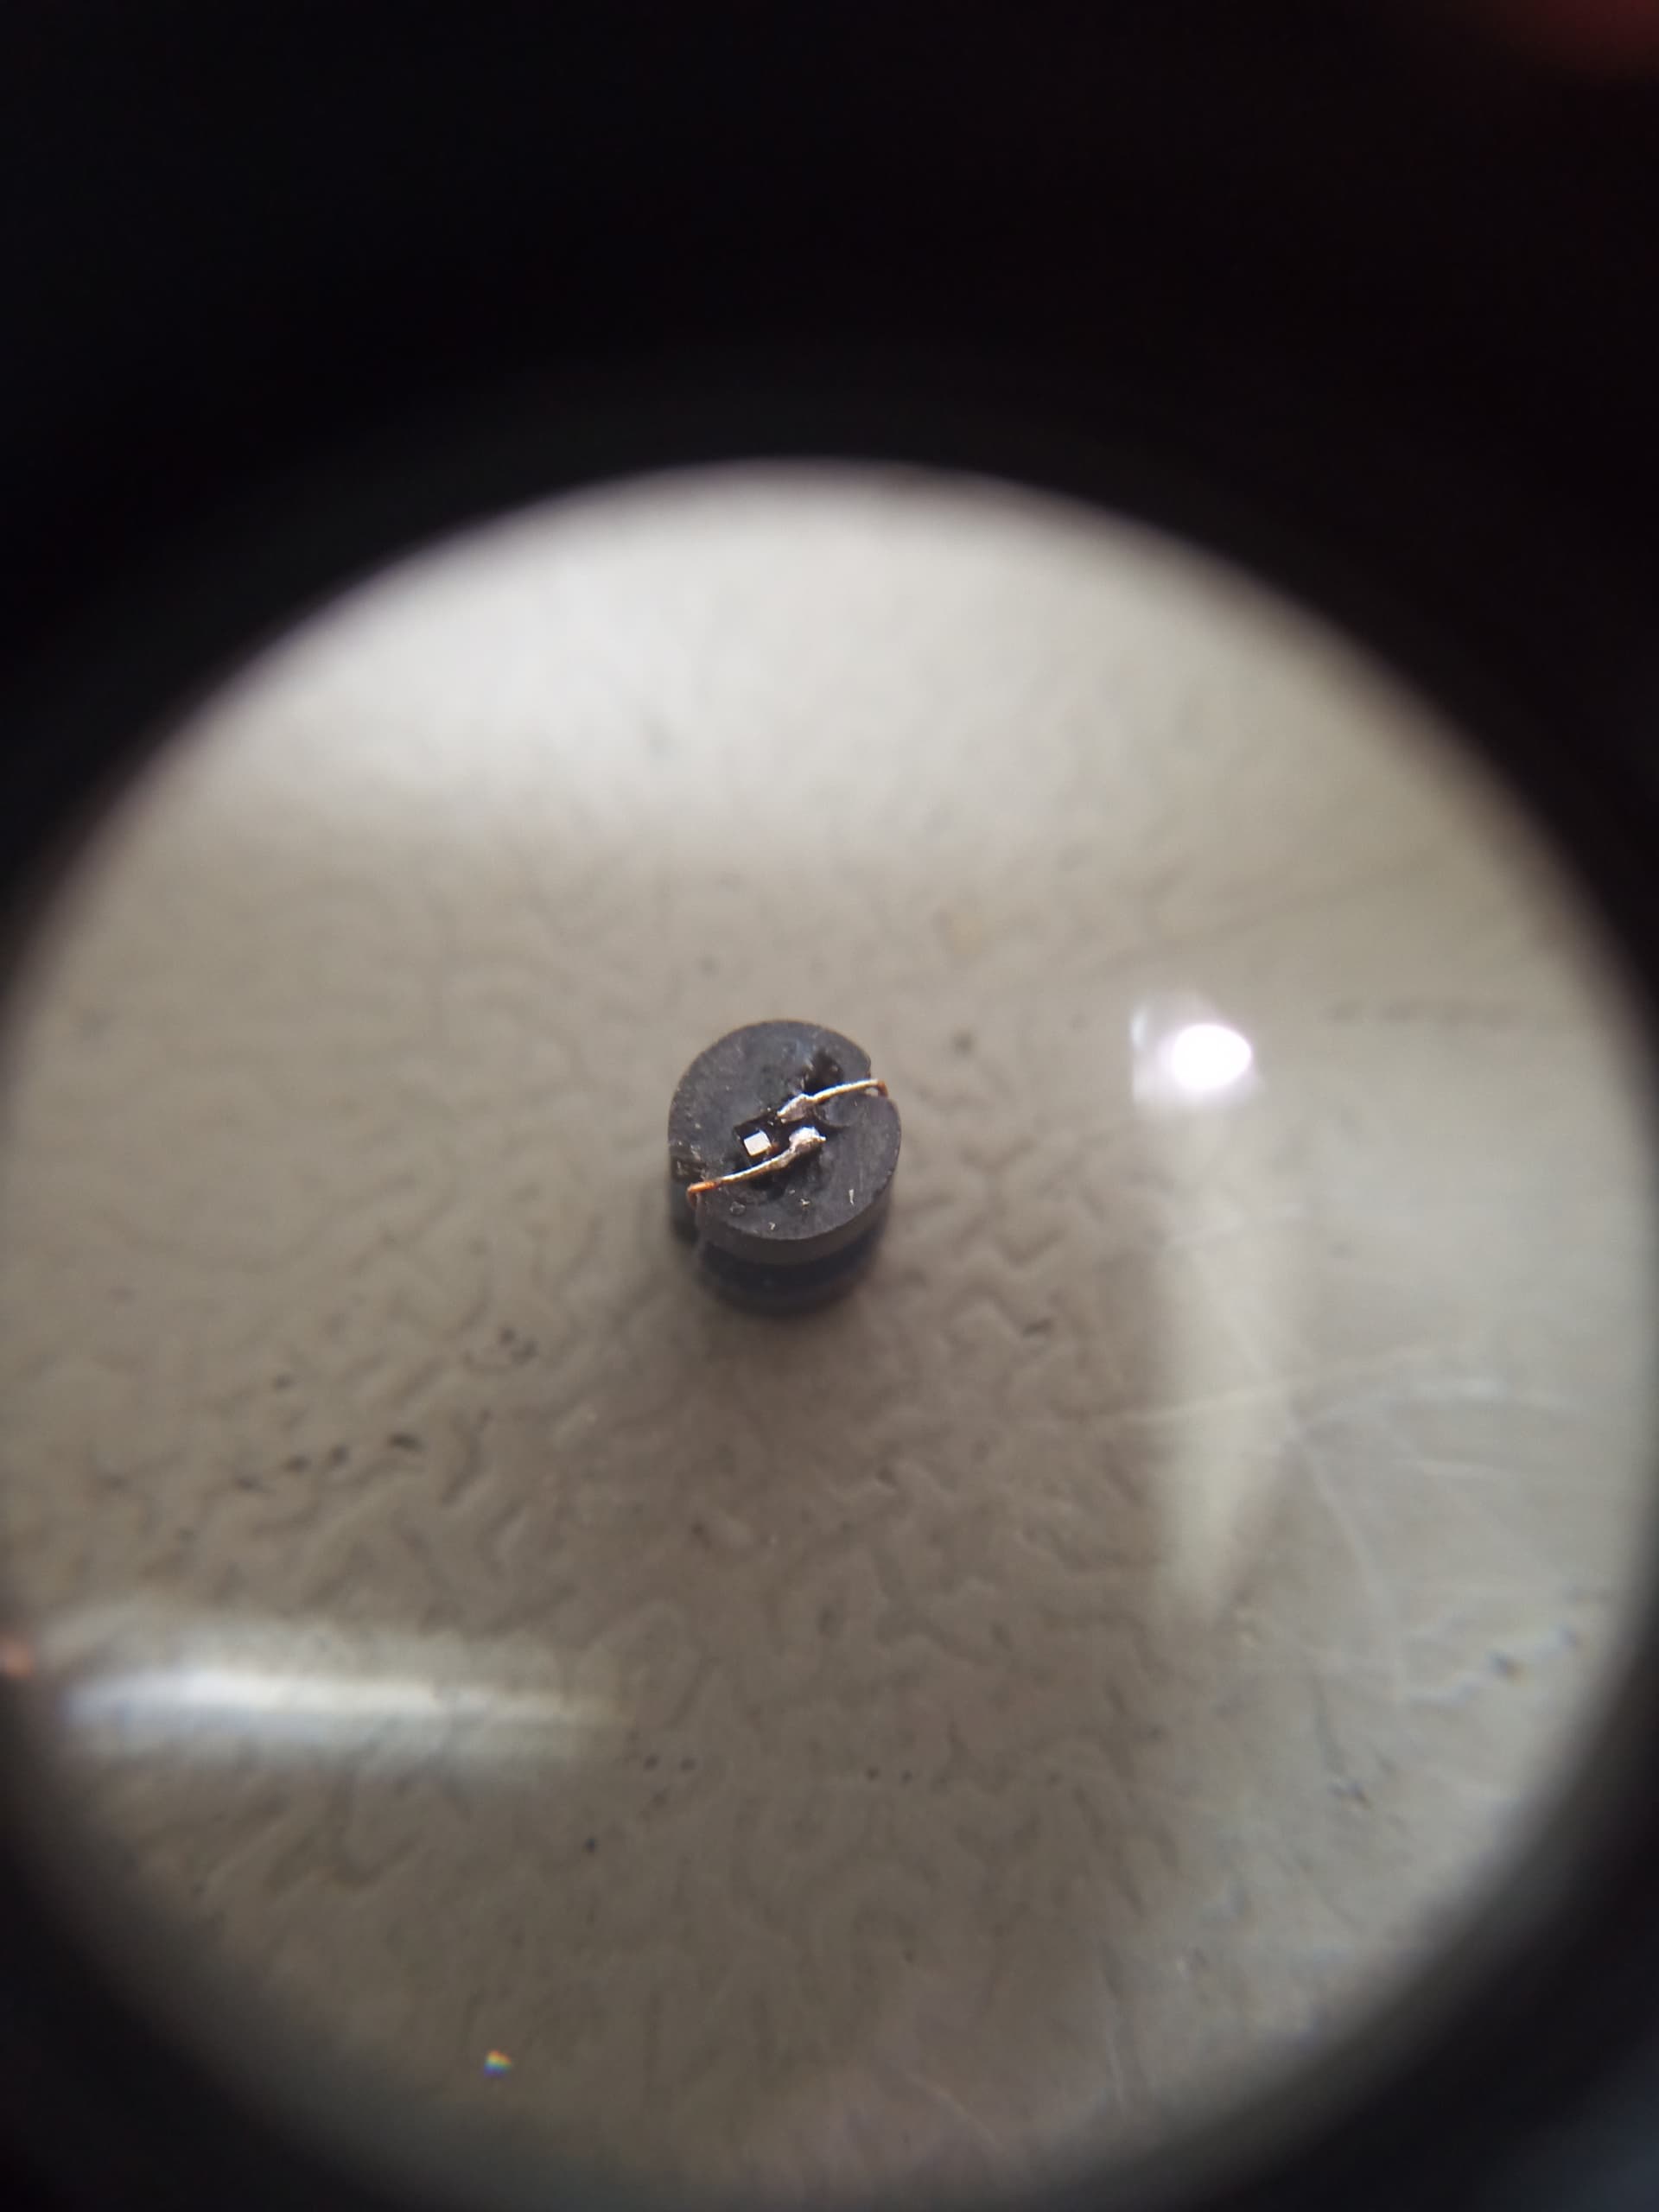
Step 5:
Tin the two contacts of the chip with the small solder tip. Cut the wires to the correct length and solder them as shown in the photo. The third contact of the chip is not used.
Step 6:
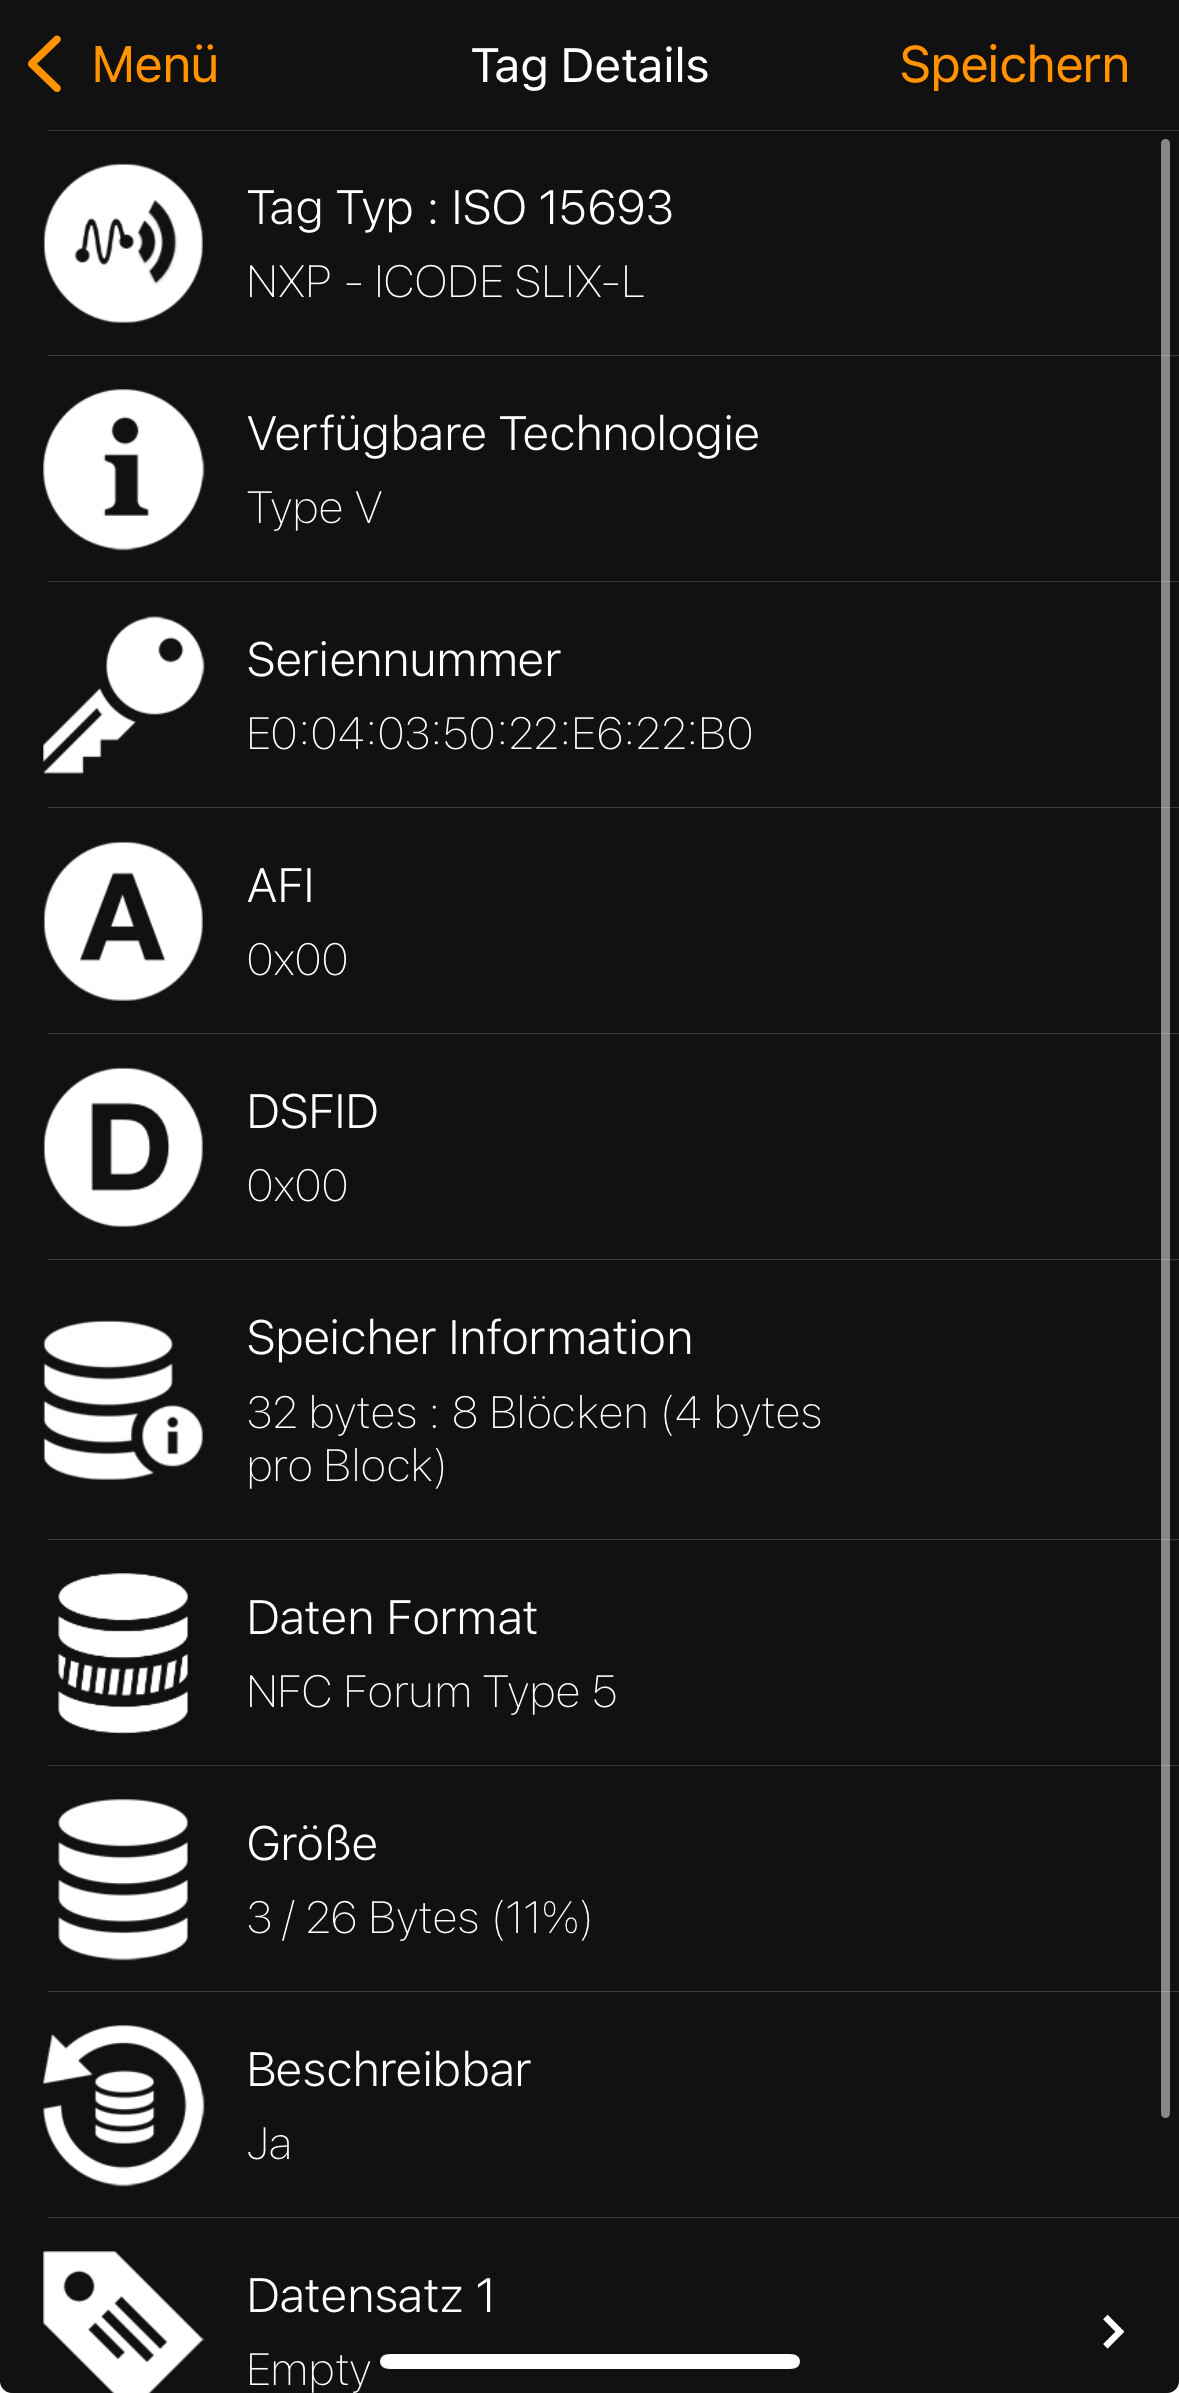
Test the tag and read the ID with any preferred device. I used my android smartphone (must have NFC) and the free app “TagInfo” from NXP that is available in the Playstore.
Have fun building your own custom tags and “original Tonies look-a-likes”.
Please share your results too!
For those who cannot order at the distributors of the needed parts (Mouser, DigiKey, Farnell etc.) - contact me.